If this is your first visit, be sure to
check out the FAQ by clicking the
link above. You may have to register
before you can post: click the register link above to proceed. To start viewing messages,
select the forum that you want to visit from the selection below.
Exciting News: Chaos acquires EvolveLAB = AI-Powered Design.
To learn more, please visit this page!
New! You can now log in to the forums with your chaos.com account as well as your forum account.
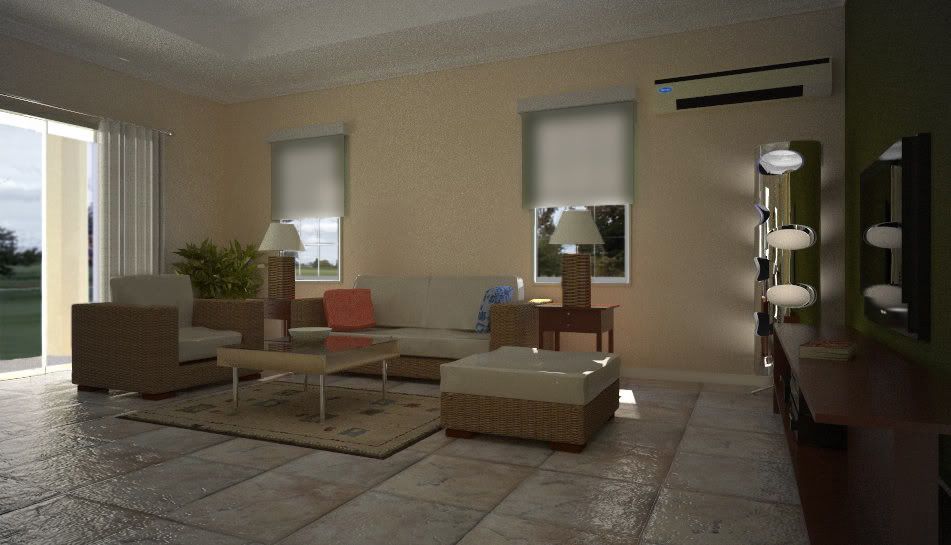
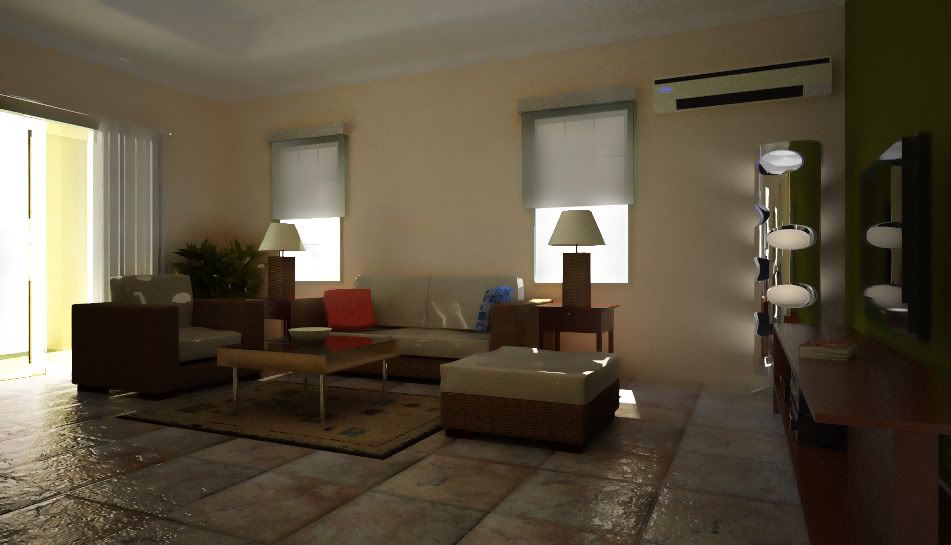
I liked very much the modeling, and texturing, but illumination could be better, there is some points of light coming from right in wall, and there is to much black points on your rendering, try to use the irradiance map on primary GI, you can even decrease the light cache samples using the irradiance map. If you do this things you render will be much more realistic.
Mike
The modelling is fine. I suggest that you play around with the sunlight direction until you get more light into the room - maybe falling on furniture etc. I also would increase the brightness of the external images by a large amount. In a shot like this with a camera, you would be unlikely to even see what was outside.
It will be interesting to see how it looks with the settings suggested by andeciuala.
Regards
David
Hi David! Thanks for the invaluable inputs. My raw images from Vray + Su has brightness intensity of 4 already. Yes you are right, the images outside shouldn't have been visible from the inside. Anyway, I did toyed with the background and came up with the former which is not realistic enough. I'm still struggling with the backgrounds and reflections. This is an actual project of mine with deadlines and a continuation of the "blue & red car" perspectives. I'll try to improve my renders next time.
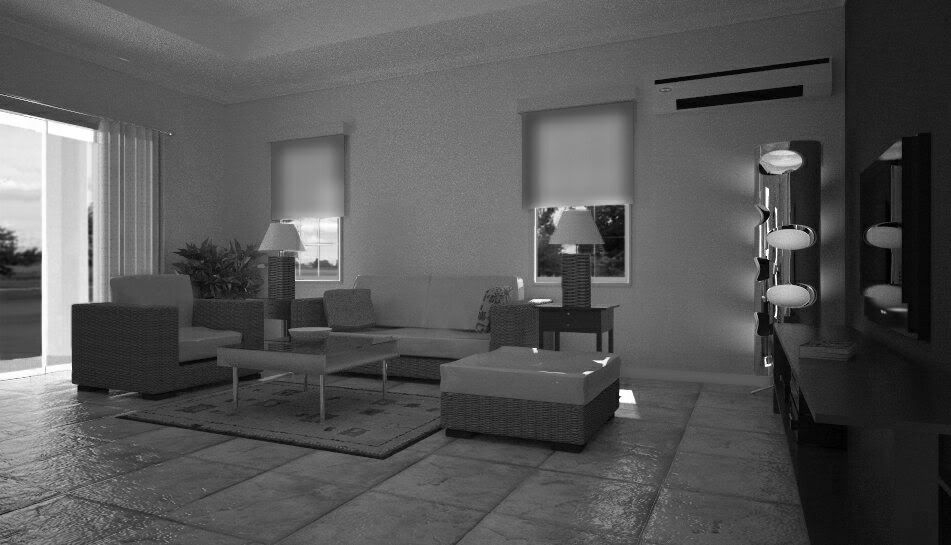
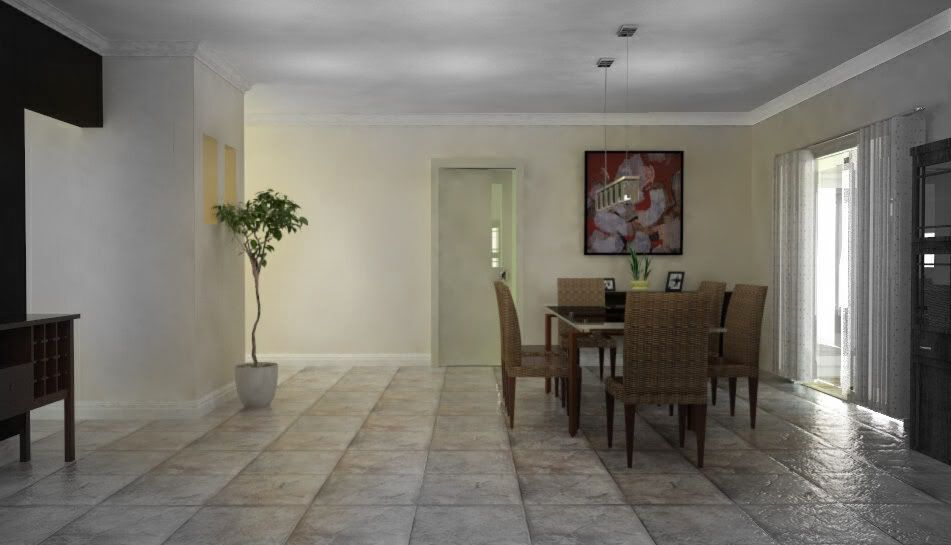
By the way, heres the raw image outputs with no PS involved.
too dark and lots of blotches
I personally dont like the look of the lanai area.
I liked very much the modeling, and texturing, but illumination could be better, there is some points of light coming from right in wall, and there is to much black points on your rendering, try to use the irradiance map on primary GI, you can even decrease the light cache samples using the irradiance map. If you do this things you render will be much more realistic.
Thanks Andeciula. Are you talking about the subdvs? By decreasing the LC samples, will my render be longer than usual? What do you think is the right amount/number for my cache samples? Your C&C's are noted. Will try it next time around.
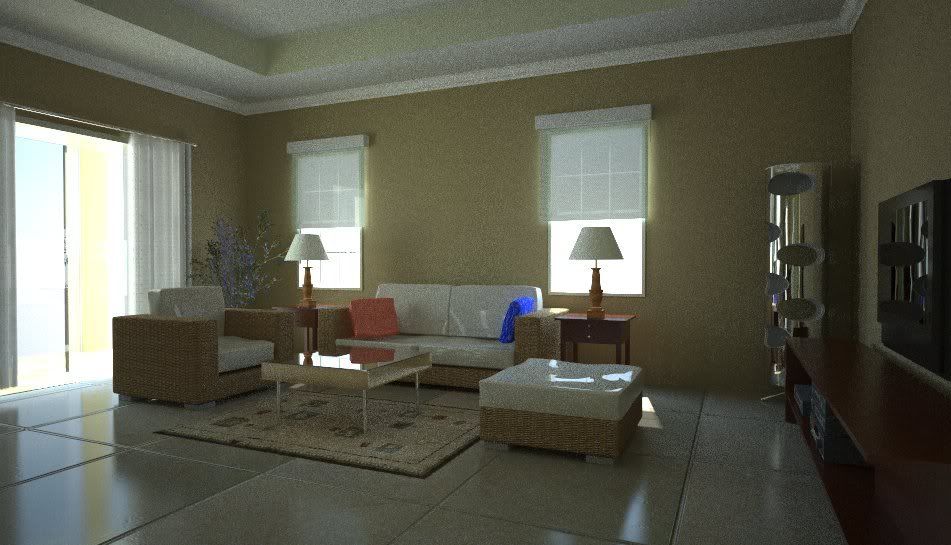
hi there this is what i said to do i don't know how much subdivisions you're using on light cache but i think 600 is enogth for your scene what you have to do is put irradiance map on your primary engine in GI. And for that hsph. sub you should put 60 and on samples 30. configure your sun light to 1.5, and your primary engine irradiance map multiplier to 3.
Set your QMC Sampler to min samples 16, subd. mult. to 2 and noise threshold to 0.005.
you will get this result on your illumination look my render time after the GI calc. that expanded about 3min only.
i forgot to say, my notebook sucks 
Acer3100 semprom 3400+ 1GB Ram, and on board chip set ATI 1100
There are no light on this scene, only sun light, u can add lights if you want but u will have to change something.
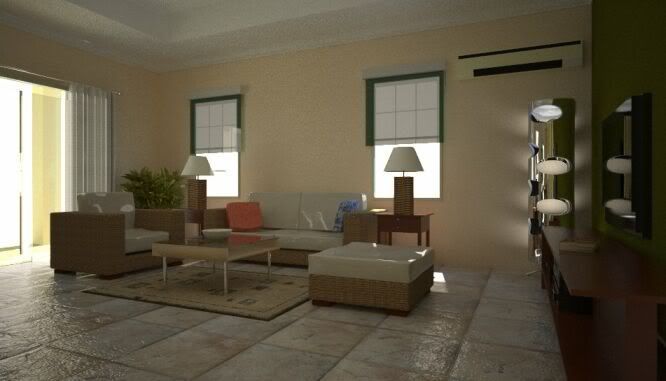
rendering is a long process, you can try to decrease the noise threshold even more or rise the samples multiplier, or min samples. But the best way, is let just like
-QMC Sampler to min samples 24, subd. mult. to 2 and noise threshold to 0.01,
-irradiance map HSph. Subdis 70 samples 100
-Rise a little bit your multiplier of the light
- indirect illumination on primary engine (irradiance map) multiplier 3
Try this one, your render should be clear as real life.
Can you tell me how do you do the tile texture and bump? what map do you use on your bump? could you share it with me?
It's simple, just apply the tile you want in your SU drawing. Then linked it to Vray. After linking it, give some reflective layers on it and put bump(multiplier 0.6) only. Viola!
 Tweet
Tweet

Comment