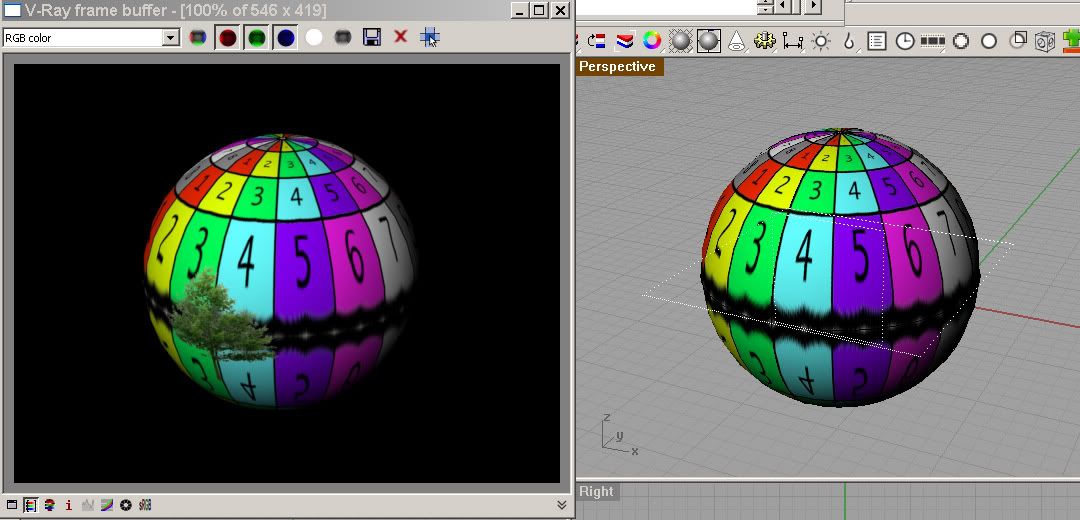
I still seem to be having problems applying maps or 'decals' onto objects using the RCM tools to map.
Here's my problem:
Image one shows a simple sphere with a 'square' map applied using RCM. (note the 'diffuse' colour is full black in order to get the opacity in the image - ie no 'washout')

Illustration two shows a 'shaped' image used in the 'Transparency' slot of the 'Diffuse' area (note the applied map in the RCM does not fully cover the object)

Image three show that a new Red 'Diffuse' layer has been created. (note that there is only small section of the second Red diffuse layer showing).

I've tried all sorts of colour combinations in the 'Diffuse and Transparency' areas without success??!
The obvious solution would be to apply a 'transparency' map with a large background, therefore covering the whole sphere - but this would be impractical if you were wanting to apply a small 'logo' onto a very large object!! (The 'Transparency' map would have to be huge!)
Any help would be appreciated!!
By the way - my final goal is to apply a 'decal' image (like a company logo) onto a 'Diffuse' map image (like carbon fibre) - I hope this will be possible???!
Here's my problem:
Image one shows a simple sphere with a 'square' map applied using RCM. (note the 'diffuse' colour is full black in order to get the opacity in the image - ie no 'washout')

Illustration two shows a 'shaped' image used in the 'Transparency' slot of the 'Diffuse' area (note the applied map in the RCM does not fully cover the object)

Image three show that a new Red 'Diffuse' layer has been created. (note that there is only small section of the second Red diffuse layer showing).

I've tried all sorts of colour combinations in the 'Diffuse and Transparency' areas without success??!

The obvious solution would be to apply a 'transparency' map with a large background, therefore covering the whole sphere - but this would be impractical if you were wanting to apply a small 'logo' onto a very large object!! (The 'Transparency' map would have to be huge!)
Any help would be appreciated!!
By the way - my final goal is to apply a 'decal' image (like a company logo) onto a 'Diffuse' map image (like carbon fibre) - I hope this will be possible???!

Comment