Announcement

Collapse
No announcement yet.

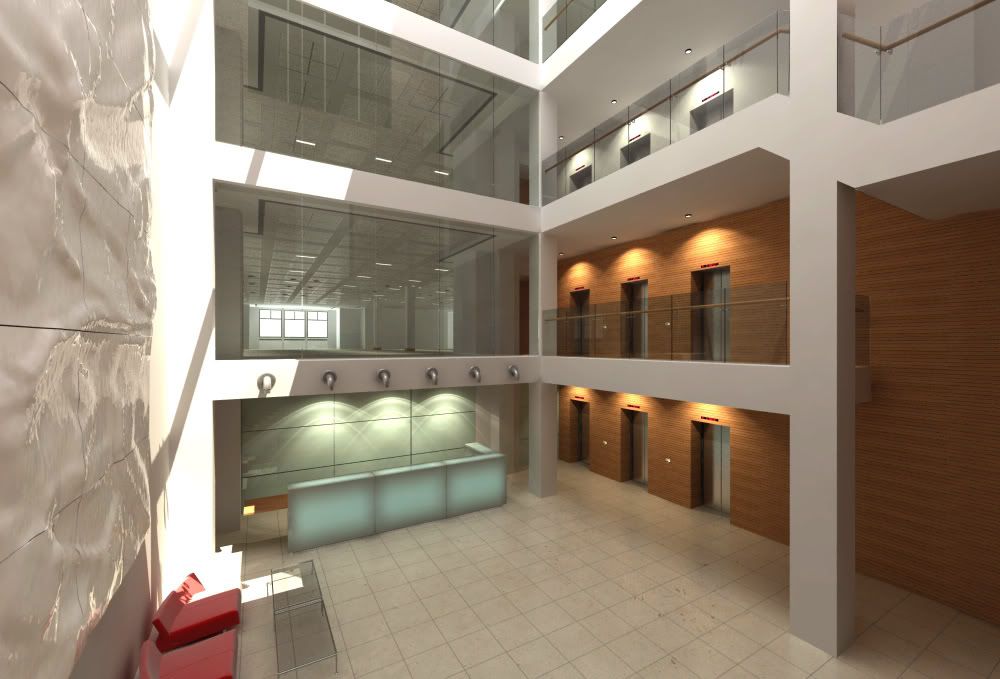
white ripple advice!

Collapse
X
 
  • Filter
  • Time
  • Show
Clear All
new posts

  • #16
    maybe it'll sound odd or something, but if you can take a photo from a front
    angle, you could apply the Art panel on a plane with lots of polys and show in
    the viewport the texture, then Paint deform it (well.. it's pretty time consuming
    but the results is nice I did this for a drapery and it turned convincing )

    Comment


    • #17
      Originally posted by panthon
      I would model the panels as flat surfaces, subdivide them, and then use paint deformation under poly options. It's more intuitive than displacement and take guessing out of the equation. Another option, more fun, would be using zbrush....but i understand that paint deformation would be a more efficient way to accomplish this particular task.


      Comment


      • #18
        this may not be feasable, but i remembered seeing it a few months back and your post reminded me..

        how to pull a normal map/displacement map from a series of alternately lit photographs.. mabye this could give you some ideas towards yet another way of looking at things

        http://66.70.170.53/Ryan/nrmphoto/nrmphoto.html
        Dave Buchhofer. // Vsaiwrk

        Comment


        • #19
          @ deflix

          About the image - I am trying to recreate it - closely !

          If you think the final result will suit you, I will explain it Step by Step.
          Will post the render shortly !

          Best regards,
          nikki Candelero
          .:: FREE Your MINDs, LIVE Your IDEAS ::.

          Comment


          • #20
            For the material, i would suggest white (240) with a simple pure white (255) reflection with fresnel on...

            If you want more control, try a faloff map in the reflection slot, and tweak the curve

            May be too simple but it always works
            Philippe Steels
            Pixelab - Blog - Flickr

            Comment


            • #21
              ...

              ....im overwhelmed by the response and as such will contribute something a little more beneficial to the forum when I get a spare evening -
              Candelero - I wait with baited breath for your 'attempt'....... have seen your other work and am V impressed!

              In the meantime I'll update when I can.

              and again,

              massive thanks to all!
              Immersive media - design and production
              http://www.felixdodd.com/
              https://www.linkedin.com/in/felixdodd/

              Comment


              • #22
                That is quite quick - as an attemp, but anyway:

                MODELLING:
                Step 1:
                Create a Plane - Add enough segments - that would be needed for the correct 3D Displacement lately. Clone it as many times as needed !


                Step 2:
                Convert to Poly - Attach all together
                Using soft selection and the Paint Selection Region tool - SHAPE the basic form.

                CloseUP


                Step 3:
                TOP View:
                Looks like we gonna need something to straighten it more


                Step 4:
                Add a Bend Mod


                Step 5:
                Preparing the model for the Shell and MeshSmooth MODs. so we need to refine the corner edges.
                Select - Ring - Conect - Move out !


                Step 6:
                Final vision on the plane. Repeat all those steps for all the rest.


                Step 7:
                Add a Shell Mod with 3 segments:


                Step 8:
                MeshSmooth - 2 iterations - Looking decent , ah ?


                NEXT FOLLOWS the Displacement mapping and the rendering !
                I'll post the rest of this tomorrow , as I gotta go now !


                Best regards,
                nikki Candelero
                .:: FREE Your MINDs, LIVE Your IDEAS ::.

                Comment


                • #23
                  Candelero - your tut is superb and im going to use this technique without a doubt...
                  Heres how far ive got so far - using the poly paint feature in the meantime, despite it being a less accurate representation.

                  comments on the image/artwork so far greatly appreciated.

                  thanks as always!

                  Immersive media - design and production
                  http://www.felixdodd.com/
                  https://www.linkedin.com/in/felixdodd/

                  Comment


                  • #24
                    great half tut Nikki heheh

                    deflix, that looks pretty nice man!!

                    Comment


                    • #25
                      nikki this should go to tutorial section...haha
                      Dmitry Vinnik
                      Silhouette Images Inc.
                      ShowReel:
                      https://www.youtube.com/watch?v=qxSJlvSwAhA
                      https://www.linkedin.com/in/dmitry-v...-identity-name

                      Comment


                      • #26
                        Preparing the model for the Shell and MeshSmooth MODs. so we need to refine the corner edges.
                        Select - Ring - Conect - Move out
                        Could you please refine these steps, I always seem to crash here....

                        thanx

                        Comment


                        • #27
                          Due to the meshsmooth modifier the original mesh would get very rounded corners. in order to preserv the shape and get defined edges additional edges are added as seen on the pics.

                          Thorsten

                          Comment


                          • #28
                            Okay, now the only thing I need to know are the subtile steps, cos thats the problem, how....

                            Comment


                            • #29
                              @ deflix
                              Great results you have in your approach.

                              Actually the rest of my tut is the EASY part, adding some Mixture of procedural noises and applying it as a displace. That everyone in this forum
                              can do just as a starter, so I will skip this part.

                              Happy to hear you liked it so far

                              Best regards,
                              nikki Candelero
                              .:: FREE Your MINDs, LIVE Your IDEAS ::.

                              Comment


                              • #30
                                ah, okay...you select one of the horizontal edges and hit "ring" in the editable poly. (that selects a ring around the object). Then you hit the "connect" button and it creates intersecting edges. Then you move them out closer to the border to define the edge. The same thing is to be done for vertical edges (so 4 times for each square) and you're done.

                                Thorsten

                                Comment

                                Working...
                                X