Announcement

Collapse
No announcement yet.

Tutorial + WIP

Collapse
X
 
  • Filter
  • Time
  • Show
Clear All
new posts

  • #31
    Re: Tutorial + WIP

    Thanks Nomer. Now, this tutorial of yours is now complete. Many users of Vfsu will benefit from this. Again, Thank you.

    Comment


    • #32
      Re: Tutorial + WIP

      Thank you very much!

      Comment


      • #33
        Re: Tutorial + WIP

        Originally posted by mikaztro
        Thanks Nomer. Now, this tutorial of yours is now complete. Many users of Vfsu will benefit from this. Again, Thank you.
        its not yet finish, thats just the lighting part. Next would be the exploration of materials.. if im on the mood heehhehe.

        tks for your comment tuyarch (vietnamese?)
        http://www.nomeradona.blogspot.com/
        http://www.sketchupvrayresources.blogspot.com/
        http://www.nomeradonaart.blogspot.com/

        Comment


        • #34
          Re: Tutorial + WIP

          I just realized that I have to catch up on some of the technical terms. Just get a bit confused sometimes. Anyway, sorry to interupt, but a rookie here named paulo didn't know that "track mouse" during render is possible, wonder how that is done?

          Thanks, may the force be with you so you can carry on with this tutorial! Haha!

          Comment


          • #35
            Re: Tutorial + WIP


            When you render, push this button and place the mouse where do you want vra-y to render
            first, then in another place, then in another...etc. vra-y will follow your mouse,in this way, you will see the result just in the places that you are interested of. for example,
            you made an material, and you are not shore that will look right. So in this way, you place the mouse where that material is in your scene,and see how it look.You don't have to render entire scene, to see the result.

            Comment


            • #36
              Re: Tutorial + WIP

              ok, here it goes.


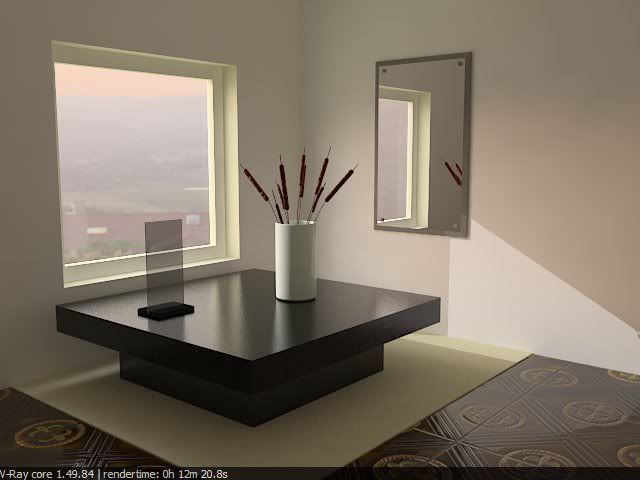
              I´m just using one retangular light (multiplier 100) in the back of the camera as sugested here.
              I increasead turbidity to 4.
              And now i´m testing some materials (some glossiness on the table and floor, glass and plastic).

              I still think that the scene is a little bit yellow (maybe changing the difuse colors of the walls). I miss that smooth "degradee" colors from white to yellow on highlights. But the scene is "well lighted", so i think that´s not a problem anymore.

              Let´s improve that.

              Cheers!

              Comment


              • #37
                Re: Tutorial + WIP

                Nomer, what's that cool movement of the camera when I switch from scene 1 to scene 2? I love it!

                Comment


                • #38
                  Re: Tutorial + WIP

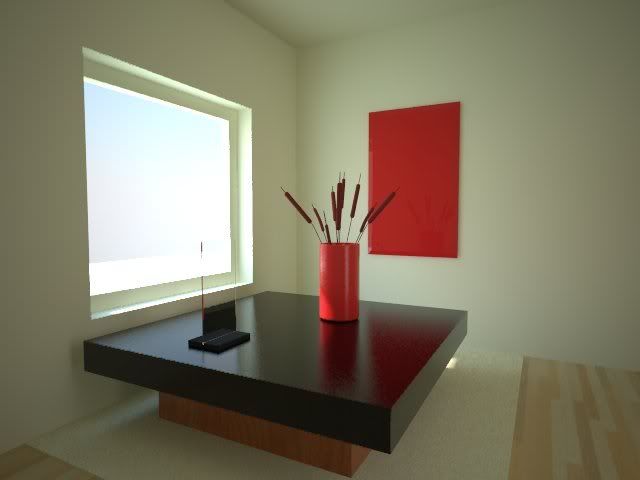
                  Sorry guys...I can't help my self...I need it to see what's going to happen,if I illuminate the scene with HDRI. Forget about my materials...only check the colors of the walls.. it's not nice?


                  Comment


                  • #39
                    Re: Tutorial + WIP

                    hmm, it´s brighter. That´s good!

                    But did you used the retangular lights or that´s just HDRI? because i think it´s hard to iluminate that room with light just from the windows since HDRI don´t bounce too much.

                    Cheers!

                    Comment


                    • #40
                      Re: Tutorial + WIP

                      Originally posted by kgoku
                      ok, here it goes.


                      I´m just using one retangular light (multiplier 100) in the back of the camera as sugested here.
                      I increasead turbidity to 4.
                      And now i´m testing some materials (some glossiness on the table and floor, glass and plastic).

                      I still think that the scene is a little bit yellow (maybe changing the difuse colors of the walls). I miss that smooth "degradee" colors from white to yellow on highlights. But the scene is "well lighted", so i think that´s not a problem anymore.

                      Let´s improve that.

                      Cheers!

                      wow good experimetation.. now here is the ball rolling for everyone to try the lighting. my intention is to impart some preliminary language for the newbie, but here you are guys you are actually putting this one now in another level. welcome...
                      http://www.nomeradona.blogspot.com/
                      http://www.sketchupvrayresources.blogspot.com/
                      http://www.nomeradonaart.blogspot.com/

                      Comment


                      • #41
                        Re: Tutorial + WIP

                        Originally posted by stefanq
                        Sorry guys...I can't help my self...I need it to see what's going to happen,if I illuminate the scene with HDRI. Forget about my materials...only check the colors of the walls.. it's not nice?


                        i love the ambience of HDRI stefan... did you turn off the camera?
                        http://www.nomeradona.blogspot.com/
                        http://www.sketchupvrayresources.blogspot.com/
                        http://www.nomeradonaart.blogspot.com/

                        Comment


                        • #42
                          Re: Tutorial + WIP

                          Hi Nomer....I'm sorry...I was excited to see what I can get from HDRI.
                          I turn of the camera, and set the multiplier of the HDRI in skylight @ 10,
                          to get the proper amount of light.No other lights, just sketchup sun (shadows). With blinds, I was getting some 'blotches' on the walls, so I remove them.

                          Comment


                          • #43
                            Re: Tutorial + WIP

                            thanks for the lead stefan. i will remember that setting next time i will do another interior. as for the splotches, that is precisely what i have noticed with vray. try putting a big vray rectangular light behind the camera with atleast 2.5 multiplier, it wont affect the hdri light i guess, but you will see those splotches disappear.
                            http://www.nomeradona.blogspot.com/
                            http://www.sketchupvrayresources.blogspot.com/
                            http://www.nomeradonaart.blogspot.com/

                            Comment


                            • #44
                              Re: Tutorial + WIP

                              Hi Nomer..

                              Thanks for sharing your knowledge..
                              is there any tip how to save this web page? thanks

                              Regards,
                              vd

                              Comment


                              • #45
                                Re: Tutorial + WIP

                                why not select and copy paste in word file. if not save as html file.
                                http://www.nomeradona.blogspot.com/
                                http://www.sketchupvrayresources.blogspot.com/
                                http://www.nomeradonaart.blogspot.com/

                                Comment

                                Working...
                                X